Quick answer: For a standard automatic drip coffee maker in the U.S., grind your coffee to a medium size — about like granulated sugar — using a burr grinder. Aim for a coffee-to-water ratio of roughly 1:15 (by weight) or about 2 tablespoons of ground coffee per 6 fluid ounces of brewed coffee. Adjust grind finer if the brew tastes weak/sour and coarser if it tastes bitter/over-extracted.
This guide explains what “medium” means, why it matters for drip machines common in U.S. homes, how to set and use your grinder, steps to weigh or measure coffee, examples for common pot sizes, troubleshooting, and what to do next.

What “medium grind” means for automatic drip (USA context)
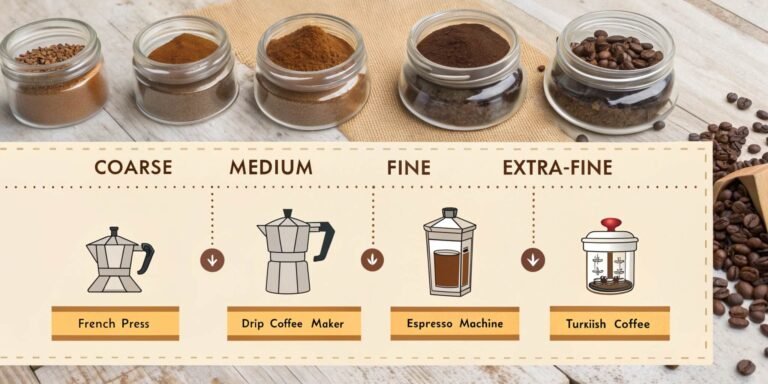
Answer: Medium = particle size similar to granulated sugar. It balances water flow and extraction in typical U.S. home drip machines.
- Why it matters: Grind size controls how fast water passes through coffee and how much flavor dissolves. Too fine = slow flow, over-extraction, bitter. Too coarse = fast flow, under-extraction, sour/weak.
- Where this applies: 4–12 cup automatic drip machines; commercial single-serve drip brewers; both flat-bottom and cone paper filters used in U.S. kitchens.
- Practical cue: Look at the grounds. If they clump like flour, they are too fine. If they fall apart like coarse sea salt, they are too coarse.

Equipment & prerequisites
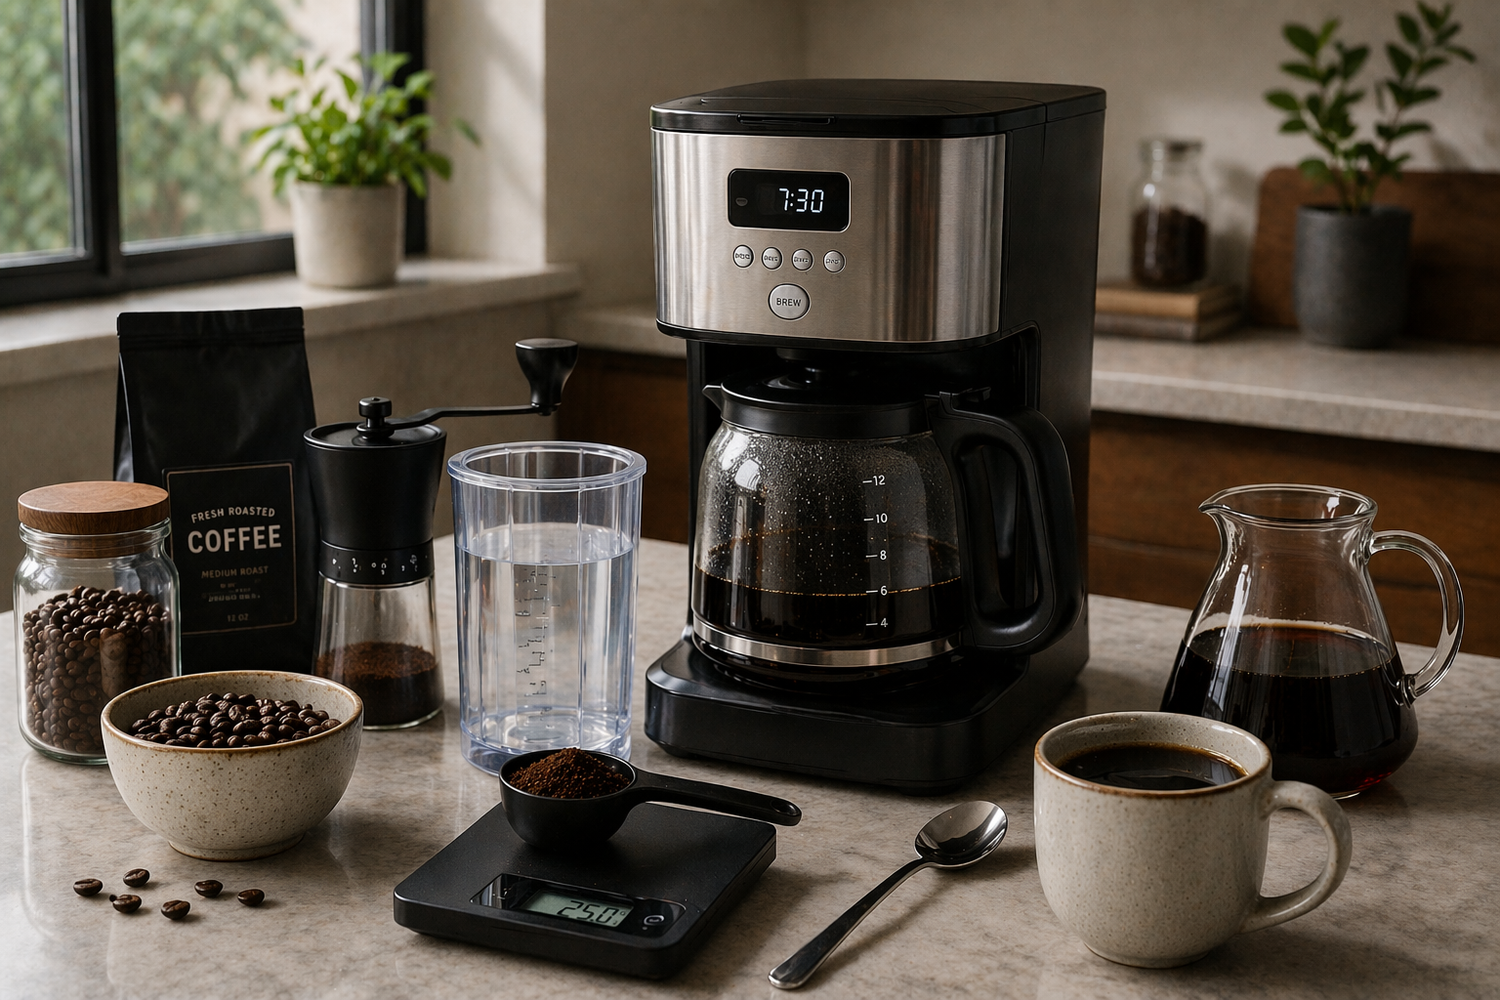
Answer: Use a burr grinder, fresh whole beans, a scale for best results, and your drip machine’s clean filter basket.
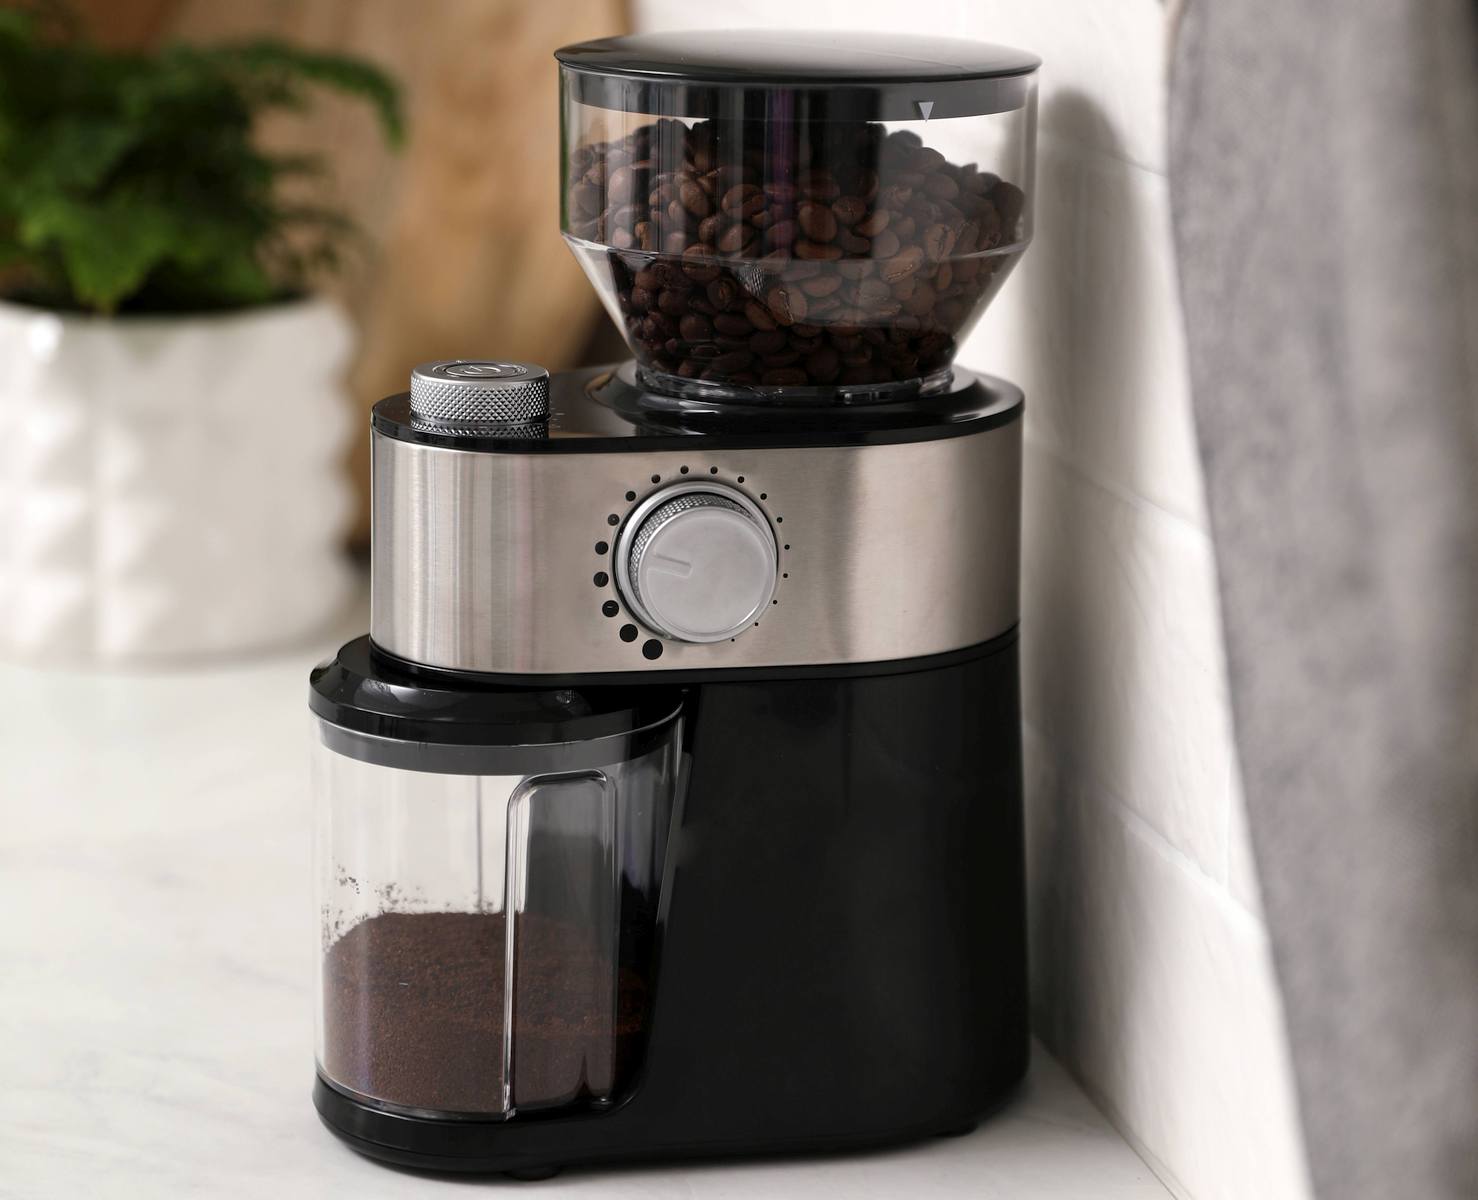
- Burr vs blade: Burr grinders give even particle size and predictable settings. Blade grinders chop unevenly and make fines that over-extract. For drip, choose a burr grinder when possible.
- Fresh beans: Buy whole-bean coffee roasted within the last 2–6 weeks. Store in an opaque, airtight container at room temperature.
- Scale and spoon: A small kitchen scale that reads grams is best. If you use tablespoons, know that volumes vary. One level tablespoon of medium-ground coffee is roughly 5–7 grams (we use 5.5 g as a typical average in examples below).
- Filters: Paper filters (flat or cone) vs metal/reusable filter changes clarity and oils. Paper gives cleaner cup; metal may need a slightly coarser grind to avoid over-extraction of oils.
- Machine clean: Run a brew cycle with only water if the carafe or basket is dirty. Old oil and fines change extraction.

Step-by-step method: grind coffee for automatic drip
Answer: Set grinder to medium, weigh the beans, grind just before brewing, and brew immediately.
-
Choose a target ratio
- Start with 1:15 (coffee:g water by weight). Example: 15 g coffee per 225 g (ml) water.
- For a standard U.S. “8 oz” mug (about 237 ml), use ~16 g coffee.
-
Weigh your beans (preferred)
- Put beans on scale. Tare to zero with the container.
- Example amounts:
- Single 8 oz cup: 15–18 g coffee.
- 10–12 cup carafe (typical 50–60 oz): 50–60 g coffee.
-
Set your grinder
- Choose a medium grind setting on the burr grinder. On many dials this is the middle range.
- Visual check: grounds should look like granulated sugar.
-
Grind just before brewing
- Grind only what you will brew in the next 15 minutes. Ground coffee loses aroma quickly.
- Transfer grounds to the filter basket and level gently.
-
Brew
- Start the drip machine. Let the machine complete the cycle.
- Taste the first cup and compare to the profile below to decide adjustments.
Signs of success: balanced taste (not sour, not bitter), clear texture (not muddy), expected brew time for your machine.
Variables, examples, and quick calculations
Answer: Adjust grind and dose by taste, filter shape, and machine speed. Use these examples to calculate doses.
-
Basic conversion tips
- 1 g = 0.035 oz. 1 US cup liquid ≈ 237 ml.
- Use weight when possible. Weighing reduces error from varied scoop sizes.
-
Common examples
- Single 8 oz cup (237 ml): 237 / 15 ≈ 15.8 g coffee → round to 16 g.
- 10 “cup” carafe (typical home machine cup = 5–6 oz): If carafe holds 50 oz ≈ 1,480 ml. Coffee = 1,480 / 15 ≈ 99 g coffee.
- If you prefer slightly stronger coffee, use 1:14. For milder use 1:16.
-
Filter and brew shape effects
- Cone filter (e.g., #2 cone): water flows to a smaller point. Many brewers set slightly finer grind for cone to keep even flow.
- Flat-bottom baskets: often need a hair coarser grind to keep flow uniform.
-
Grinder dial reference (not universal)
- Many grinders label 1–10: drip typically in the middle (3–7). Check visuals, not numbers alone.
Common mistakes, exceptions, and troubleshooting
Answer: Match symptoms to likely causes and fix in order of safety and impact.
Symptoms → Likely cause → Fix
- Sour or weak coffee → Grounds too coarse or dose too low → Make grind slightly finer (one step), or add 1–2 g coffee per cup.
- Bitter or harsh coffee → Grounds too fine or water too hot/over-extraction → Make grind coarser one step; check machine temperature (most domestic machines are fine).
- Coffee sludgy or very full-bodied → Grounds too fine, metal filter, or trapped fines → Use coarser grind; clean filter and grinder; use paper filter if needed.
- Brew takes too long or overflows → Grind too fine or basket clogged → Coarsen grind and clean filter basket.
- Varied taste cup to cup → Beans stale or grinder inconsistent → Buy fresh beans and clean/replace grinder burrs if worn.
Maintenance and safety limits
- Do not put coffee beans or grounds into electric grinder while plugged/unplugged? Always follow your model’s manual. Unplug before cleaning.
- Clean burrs every 1–4 weeks depending on use. Old oil buildup affects taste.
- If you rely on preset grinder numbers, log what you used for each bean and brew method for repeatability.

What to do when the process fails
Answer: Isolate variables, change one at a time, and use tasting as your test.
-
Taste test protocol
- Brew two small batches. Change only grind size between them. Taste side-by-side.
- Record which you prefer and the change made.
-
If wobbling tastes persist
- Check freshness: beans older than 6 months often taste flat.
- Check grinder: blade grinders cause inconsistent grounds. Consider a burr upgrade.
- Check machine: scale build-up or blocked spray head alters flow. Descale as recommended.
-
When equipment limits your options
- If you only have a blade grinder, pulse in short bursts and sieve if possible to remove fines. Expect less control.
- If you lack a scale, use the spoon rule: for drip, 2 level tablespoons per 6 fl oz is a reasonable starting point (not precise).

Next steps and follow-up questions
Answer: Start with the basic medium grind and 1:15 ratio, then tune by taste and equipment.
- Try a cupping-style split: make two brews with small changes to grind or dose. Keep notes.
- If you want clearer coffee, test paper vs metal filters and tweak grind coarseness.
- Consider investing in a digital scale and a burr grinder for fast, repeatable improvements.
Observed or inferred next questions
- OBSERVED QUESTION: How often should I replace grinder burrs? (Inspected sources are mixed; many recommend every 500–1,500 pounds of beans; check your grinder manual.) Coverage: SHALLOW in typical consumer pages. Priority: medium.
- INFERRED NEXT NEED: Best grind setting for specific grinder models. Basis: users ask model-level settings. Coverage: MISSING unless model docs checked. Priority: low–medium; answer needs manufacturer data.
Add these next steps on your to-do list:
- Calibrate your grinder: set a baseline, taste, then log changes.
- Measure one pot with scale to learn your ideal dose.
- Clean equipment monthly.

FAQs
Q: Is medium grind the same for all drip machines?
A: No. “Medium” is a starting point. Cone filters may take a touch finer. Flat-bottoms and metal filters may work better with slightly coarser. Adjust by taste.
Q: Can I use pre-ground coffee for automatic drip?
A: Yes, but it will lose aroma fastest. Buy a roast date and use within 2 weeks of opening for best flavor. Whole-bean, ground just before brewing, is best.
Q: How long before brewing should I grind?
A: Grind immediately before brewing. If you must grind ahead, keep grounds sealed and use within 15–30 minutes for best flavor.
Q: Can I use a blade grinder if I only have one?
A: Yes. Pulse in short bursts for a more even result. Expect more fines. Use a coarser overall setting to reduce bitterness.
Q: How do I measure coffee without a scale?
A: Use tablespoons as a rough guide: 2 level tablespoons per 6 fl oz is common. For consistent results, consider getting a small digital scale.
Key takeaways
- Use a medium grind similar to granulated sugar for automatic drip machines.
- Prefer a burr grinder and weigh coffee for best repeatability. Aim for roughly 1:15 coffee-to-water by weight.
- Adjust grind size by taste: finer for sour/weak, coarser for bitter/over-extracted.
- Clean and maintain grinder and brewer for consistent results.
Conclusion: Grinding to the right size is the single easiest way to lift the quality of your drip coffee. Start with medium, measure by weight if you can, taste, and tweak in small steps.