For most home cooks in the United States, yes, you can grind small amounts of grains into flour in a coffee grinder. A blade-style grinder can handle wheat berries, oats, rice, and other dry grains. However, it usually makes coarse, uneven flour rather than the fine flour sold in American grocery stores.
A coffee grinder works best for small batches. It is useful when you need a little oat flour for pancakes, rice flour for a sauce, or a quick test batch of wheat flour. For regular bread baking or large amounts, a grain mill is faster, cooler, and more consistent.
What Happens When You Grind Grain in a Coffee Grinder?
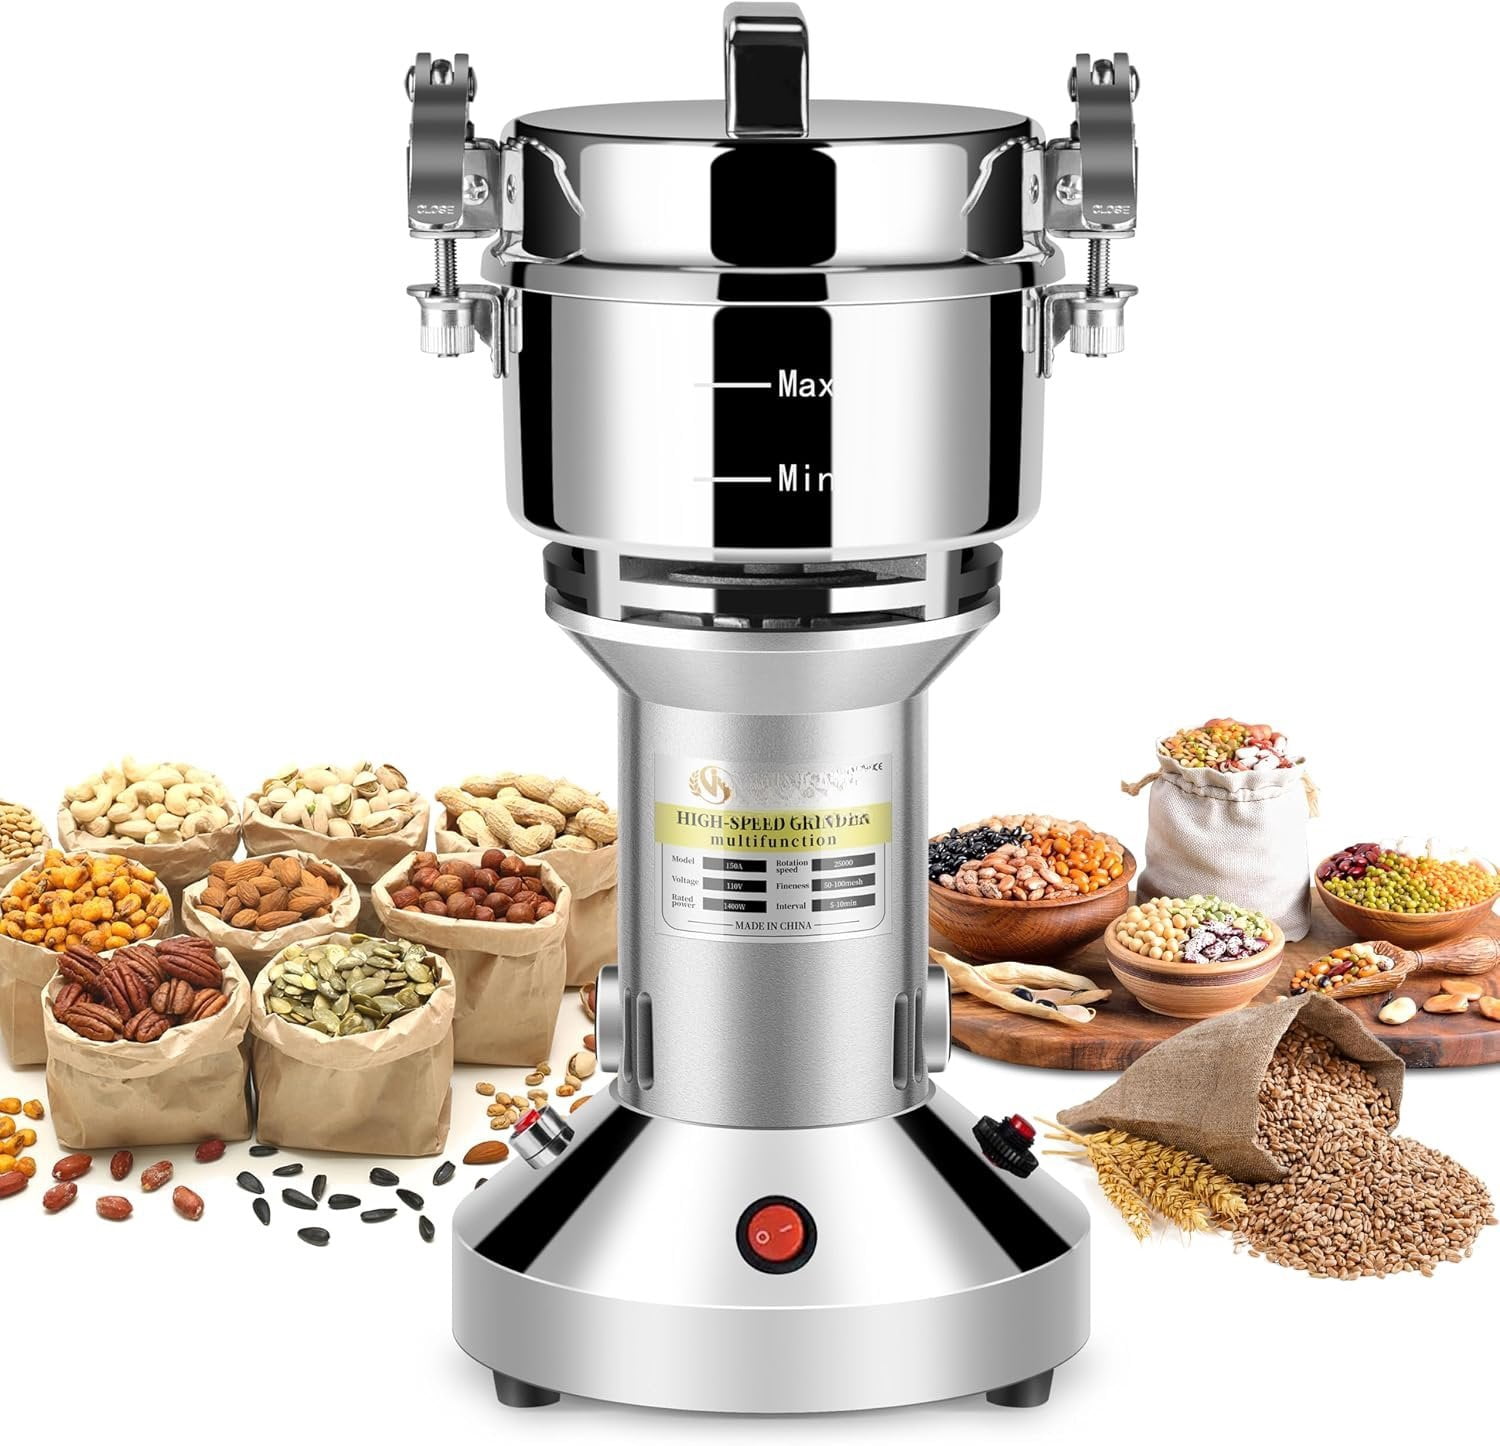
A coffee grinder breaks dry grain into smaller pieces through cutting, chopping, or crushing. The result depends on the grinder type, grain hardness, batch size, and grinding time.
A blade grinder uses a fast, spinning blade. It chops the grain much like a small food processor. This method can produce flour, but the particles will not all be the same size.
A burr grinder uses two grinding surfaces. It is designed to crush coffee beans into a controlled size. Some burr grinders may process dry grains, but many manufacturers advise using them only for coffee. Grain can clog the burrs, wear the parts, or void the warranty.
The term flour can also cause confusion:
- Fine flour: A soft powder suited to cakes, sauces, and some breads.
- Medium flour: A slightly gritty powder that may work in pancakes, muffins, and quick breads.
- Meal: A coarse, grainy product with larger pieces of grain.
- Groats or cracked grain: Broken grain pieces that are not flour.
A coffee grinder may produce a mix of these textures. Sifting can remove larger pieces, but it will not always create the same fine texture as a grain mill.
Which Coffee Grinder Is Best for Making Flour?
A dedicated blade coffee grinder is usually the practical choice for small batches, provided the manual does not forbid grinding dry grains. It has a simple chamber and blade, and replacement cost is often lower than for a burr grinder.
Blade grinders
Blade grinders can work well for:
- Rolled oats
- White rice
- Brown rice
- Quinoa
- Buckwheat
- Small wheat berries
- Dried corn pieces, if the grinder manual allows them
Their main weakness is control. The longer you run the grinder, the finer the powder becomes in some areas, while other pieces may remain coarse.
Burr coffee grinders
Burr grinders are less predictable for flour. Their narrow passages can clog, especially when grain dust becomes warm or slightly oily. Some models also use burrs and internal parts intended only for roasted coffee beans.
Before using one, check the manual for:
- Approved ingredients
- Maximum operating time
- Cleaning instructions
- Warranty restrictions
- Warnings about hard foods or non-coffee use
If the manual says the grinder is for coffee only, do not use it for grain. A warranty warning is not the same as proof that the grinder will fail every time, but it does show that the manufacturer has not approved the use.
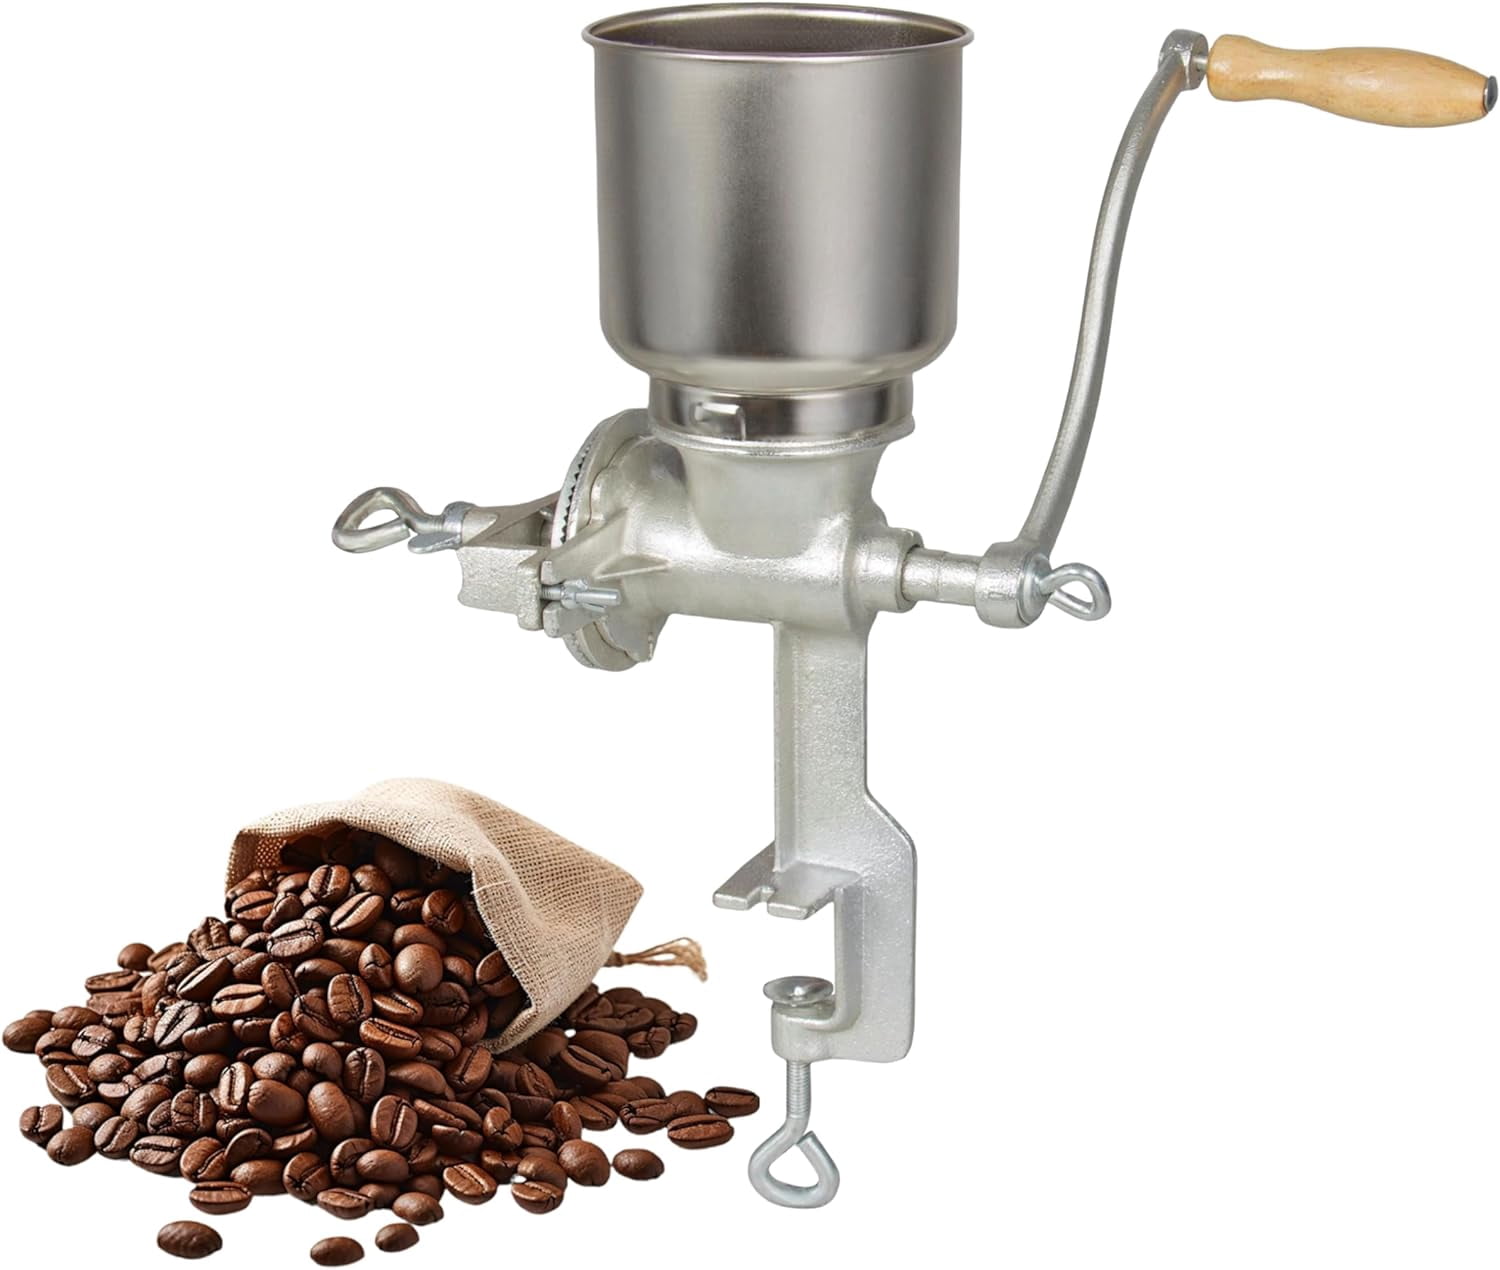
Manual coffee grinders
A hand-crank coffee grinder may grind some grains, but it is often slow and tiring. Many are built for coffee beans, not hard wheat berries. The small burrs may also produce an uneven grind or jam.
The best tool for frequent flour making
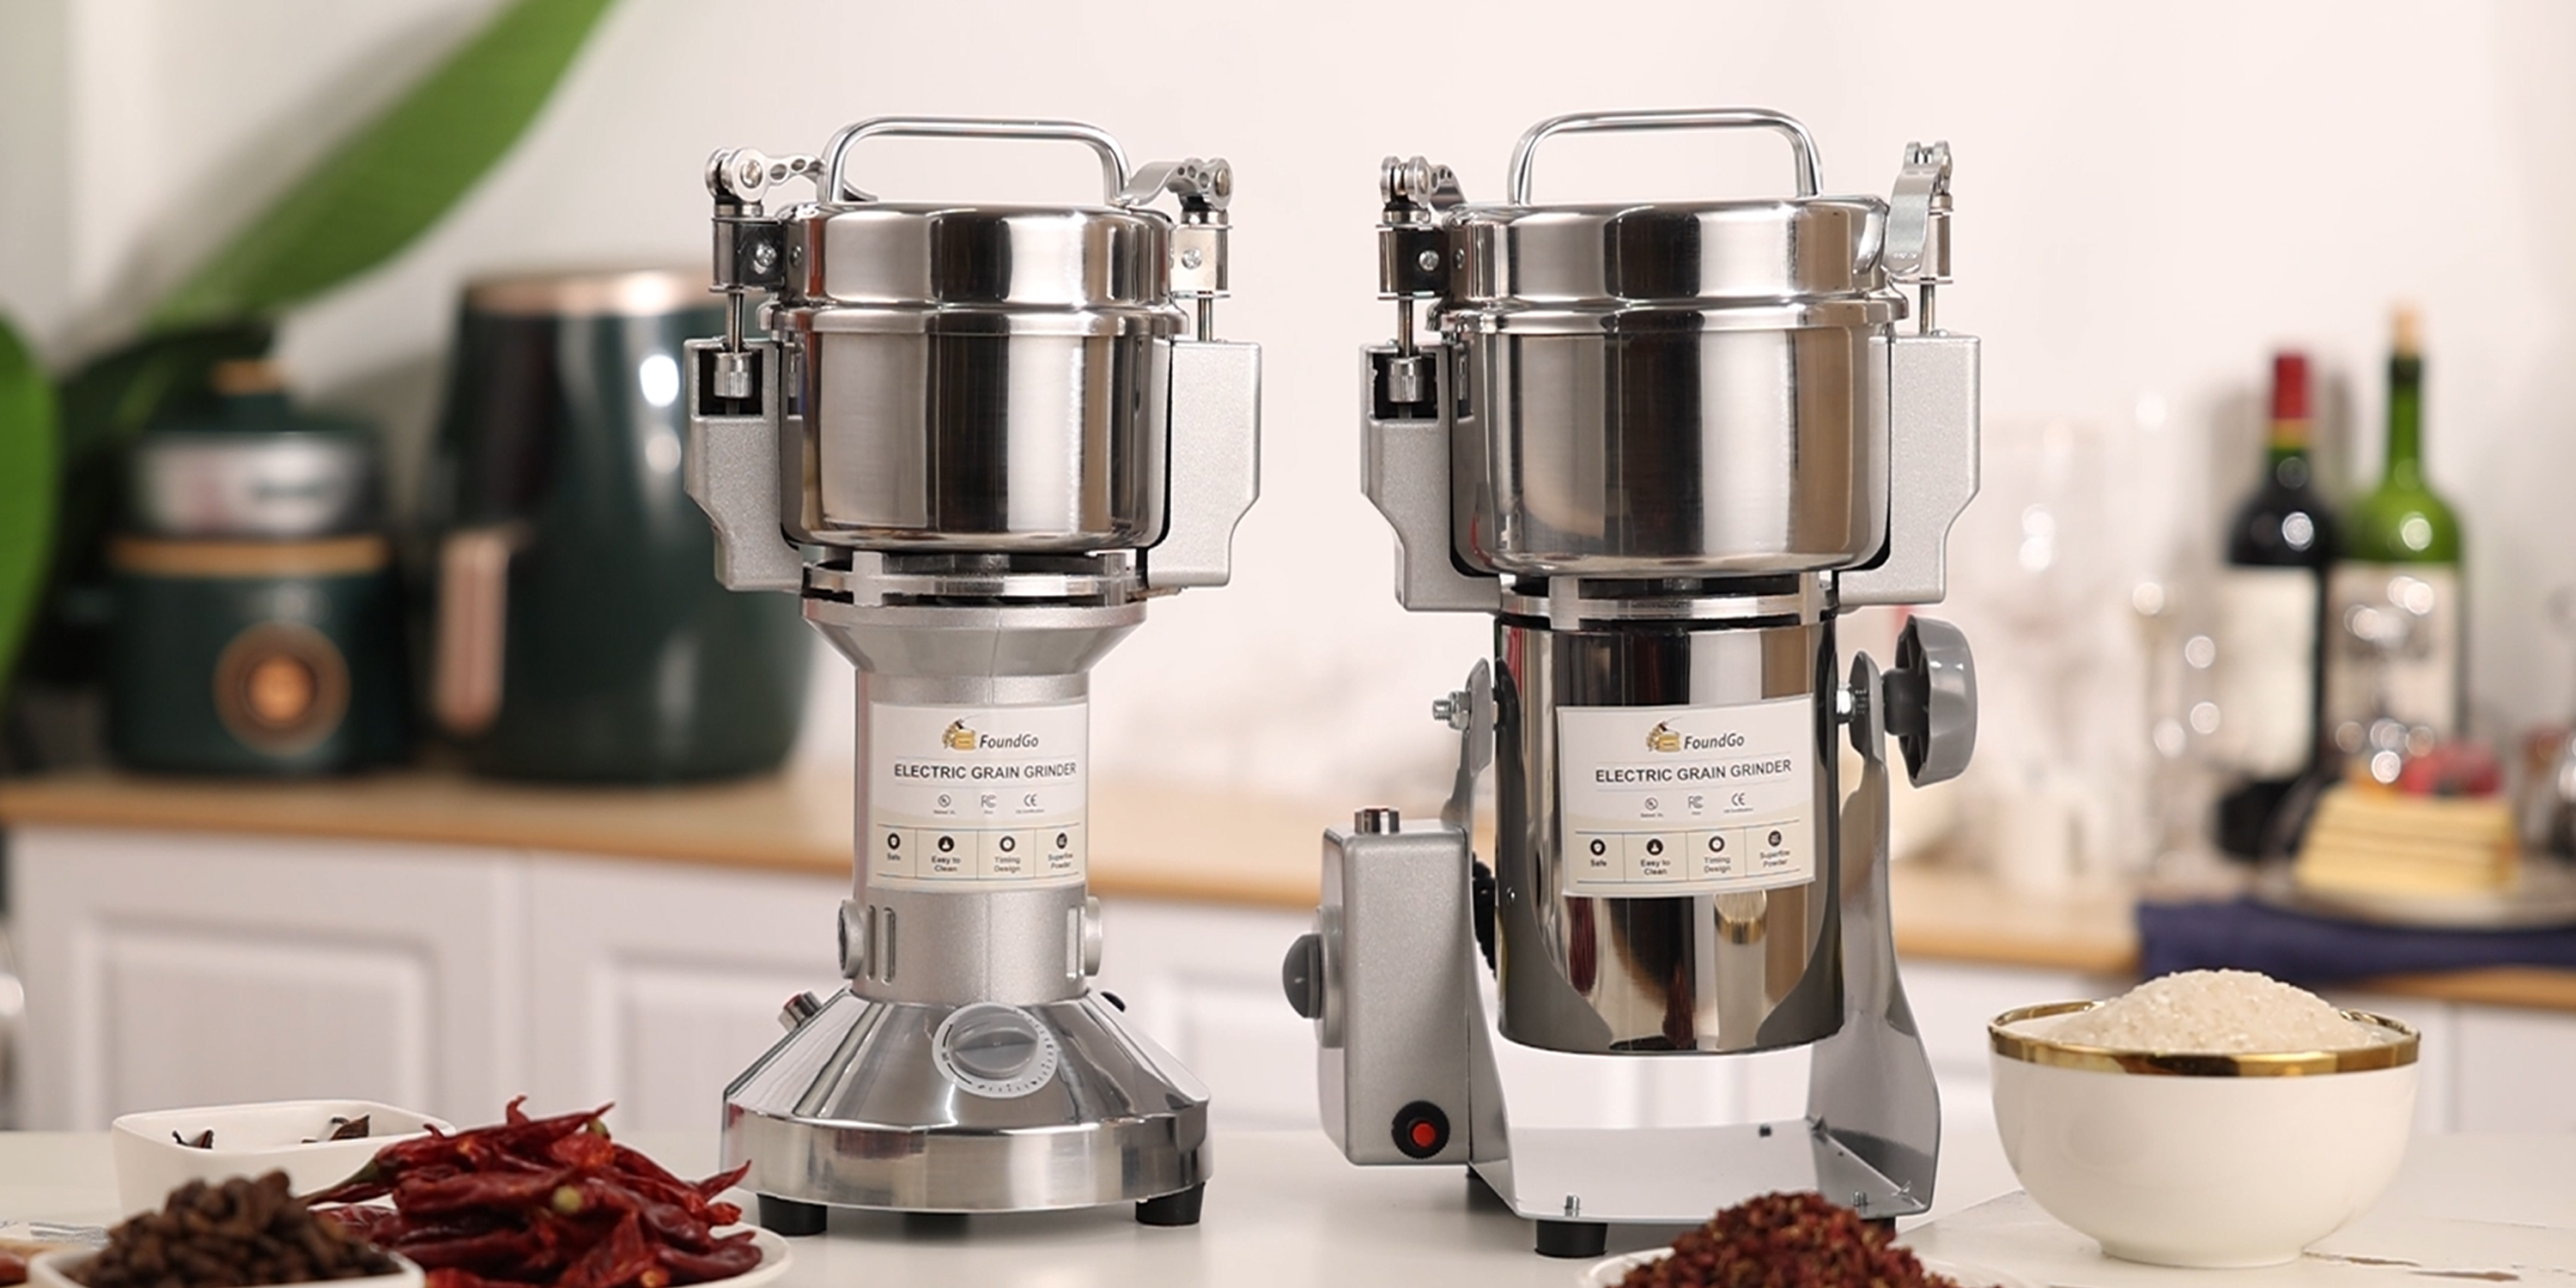
A grain mill is the better choice if you plan to grind flour often. Grain mills are designed for hard, dry kernels and usually offer better control over flour texture. They also handle larger batches with less strain than a coffee grinder.

How to Grind Grain Into Flour in a Coffee Grinder
Use only clean, dry grain and a grinder that permits the task. Start with a small amount so you can check the result without overloading the motor.
What you need
- A clean, dry coffee grinder
- Dry grain or rolled oats
- A small spoon or scoop
- A fine-mesh sieve, if needed
- A clean bowl or airtight container
- A soft brush for cleanup
Step-by-step method
- Read the grinder manual. Confirm that the manufacturer does not prohibit dry grains or other hard foods.
- Clean the grinder. Remove old coffee grounds. Coffee oils can change the taste of the flour.
- Measure a small batch. Start with about 2 to 4 tablespoons. Do not fill the chamber to the top.
- Add the dry grain. Use only clean grain with no stones, husks, moisture, or foreign objects.
- Pulse the grinder. Run it for short bursts of about 5 to 10 seconds. Pause between bursts.
- Shake the chamber gently. This helps move larger pieces toward the blade.
- Check the texture. Stop when the flour looks as fine as your recipe needs.
- Sift the flour if needed. Return larger pieces to the grinder for another short burst.
- Let the flour cool. If it feels warm, wait before sealing it in a container.
- Clean the grinder again. Brush out dust and wipe the chamber according to the manual.
Do not run the grinder continuously for a long period. Short pulses help reduce heat and give the motor time to rest.
Signs the process is working
The flour should look dry and fairly even. The grinder should run at its normal sound and speed. It should not smell like burning plastic, smoke, or struggle to turn.
If the flour becomes warm, smells scorched, or turns into a paste, stop the process. Heat can affect flavor, and moisture or oil may indicate that the ingredient is not suitable for the grinder.

How Fine Will the Flour Be?
A coffee grinder can make usable flour, but it may not match commercial flour. The final texture depends on the grain and grinder.
| Ingredient | Likely result in a blade grinder | Common uses |
|---|---|---|
| Rolled oats | Soft, fairly easy-to-grind flour | Pancakes, muffins, cookies |
| White rice | Light flour, often somewhat gritty | Thickening, gluten-free baking |
| Brown rice | Coarse to medium flour | Crackers and rustic baking |
| Quinoa | Fine to medium flour | Pancakes and specialty baking |
| Buckwheat | Medium flour | Pancakes and quick breads |
| Wheat berries | Coarse meal to medium flour | Rustic breads and test batches |
| Dried corn pieces | Coarse meal in many grinders | Cornmeal-style recipes |
The most important variable is particle size. Cakes and some pastries need a smooth, fine flour. A coarse grind can make them gritty or dense.
For yeast bread, a coarse grind may still work, but it can change the dough’s texture and water absorption. Wheat flour made in a coffee grinder may also contain larger bran pieces. These pieces can affect gluten development and make a loaf feel heavier.
A simple test is to rub a pinch between your fingers. If it feels sandy, sift it or grind it again. If your recipe depends on a very smooth texture, use a grain mill or buy ready-made flour.

What Grains Can You Grind in a Coffee Grinder?
The safest general rule is to use small amounts of dry, clean, non-oily grains. Soft grains and flakes are usually easier than hard whole kernels.
Oats
Rolled oats are among the easiest ingredients to turn into flour. They are less dense than wheat berries, so a small blade grinder can usually process them with less effort.
Do not confuse rolled oats with wet oatmeal. Cooked oats contain water and can clog or damage the grinder.
Rice
Dry rice can become rice flour. White rice is usually easier to process than brown rice because brown rice has an outer layer that can make the grind more uneven.
Rice flour may still feel slightly gritty. Sifting can improve the texture.
Wheat berries
Wheat berries are whole wheat kernels. They can be hard, so they place more strain on a small motor. A coffee grinder may produce a coarse wheat meal instead of fine flour.
If you need flour for bread, grind a small test batch first. Use it in a recipe where a rustic texture is acceptable.
Quinoa and buckwheat
These grains are often suitable for small-batch grinding. They can have strong flavors, so clean the grinder well before and after use.
Corn
Hard dried corn can be too demanding for some coffee grinders. Do not assume that a grinder that handles oats or rice can safely handle whole dried corn. Follow the manual and use a grain mill for regular cornmeal production.
What Should You Avoid Grinding in a Coffee Grinder?
Avoid wet, oily, sticky, or unusually hard ingredients unless the manufacturer specifically approves them. These foods can damage the grinder or create a cleaning problem.
Do not grind:
- Cooked grains
- Damp grain
- Fresh fruit or vegetables
- Nuts, unless the manual permits them
- Seeds with high oil content
- Sticky dried fruit
- Ice
- Stones or foreign objects
- Large pieces of dried corn in an unapproved grinder
Nuts and seeds deserve special care. Their oils can coat the chamber and affect later batches of coffee or flour. Sticky foods can also collect around the blade and become difficult to remove.
Do not use a coffee grinder to make flour from grain that contains rocks, metal, or other debris. Inspect bulk grain before grinding. A hard foreign object can damage the blade and create a safety hazard.

Coffee Grinder Flour Safety and Cleaning Tips
The main safety concerns are heat, dust, cross-contact, and equipment damage.
Prevent overheating
Use short pulses rather than a long run. Let the motor rest if the grinder becomes hot. Stop immediately if you notice smoke, a burning smell, or unusual noise.
Do not seal very warm flour in a container. Trapped heat can lead to condensation, which may reduce shelf life.
Prevent allergen cross-contact
If a grinder has been used for wheat, it should not be treated as free from wheat residue. This matters for people with celiac disease, wheat allergy, or a medically required gluten-free diet.
A quick wipe may remove visible dust but may not remove every particle. The FDA explains that cross-contact can happen when an allergen unintentionally moves from one food or surface to another. For strict gluten-free cooking, use a separate grinder or buy certified gluten-free flour.
Clean the grinder
Unplug the grinder before cleaning it. Brush away dry particles and follow the care instructions in the manual. Do not immerse an electric grinder in water unless the manufacturer says that part is washable.
Avoid washing the motor base. Moisture inside the housing can cause damage or create an electrical risk.
Store homemade flour properly
Place cooled flour in an airtight container. Label it with the grain and date. Whole-grain flour contains more of the grain’s natural oils than refined white flour, so it may spoil faster.
For best quality, make only what you expect to use soon. If you notice a stale, bitter, or paint-like smell, discard the flour.
Coffee Grinder vs. Grain Mill for Flour
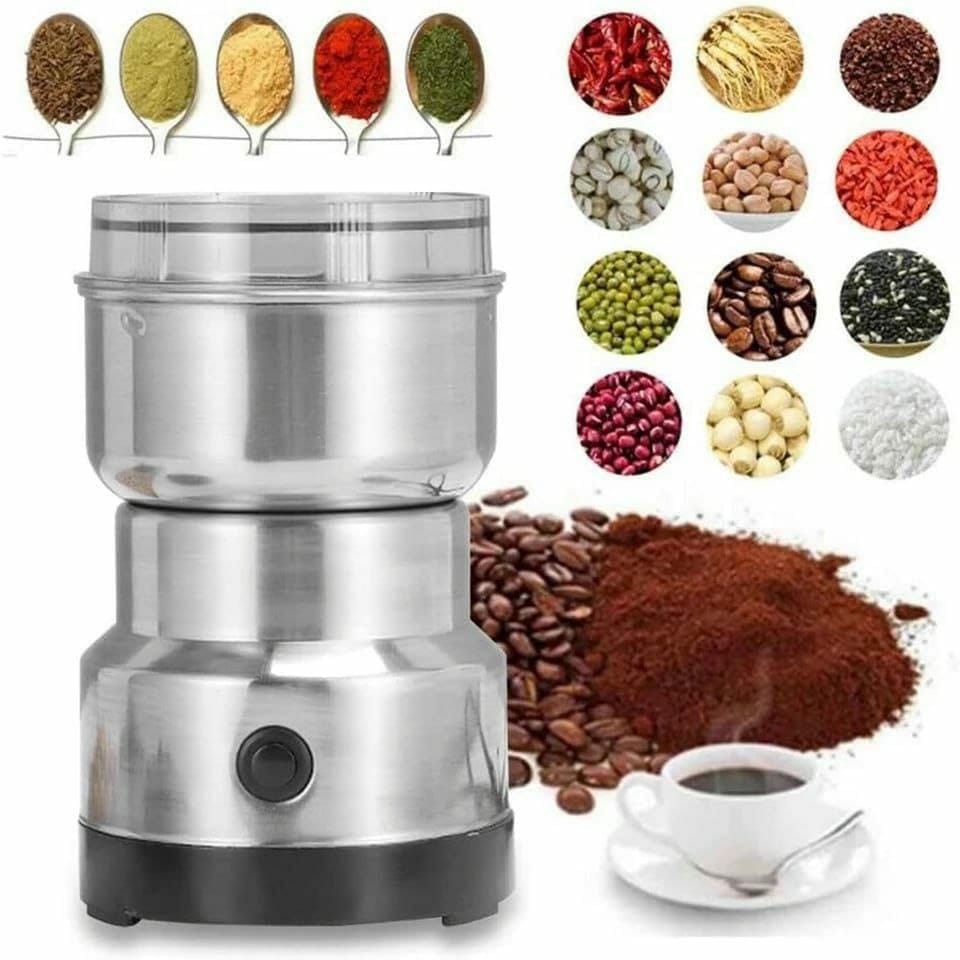
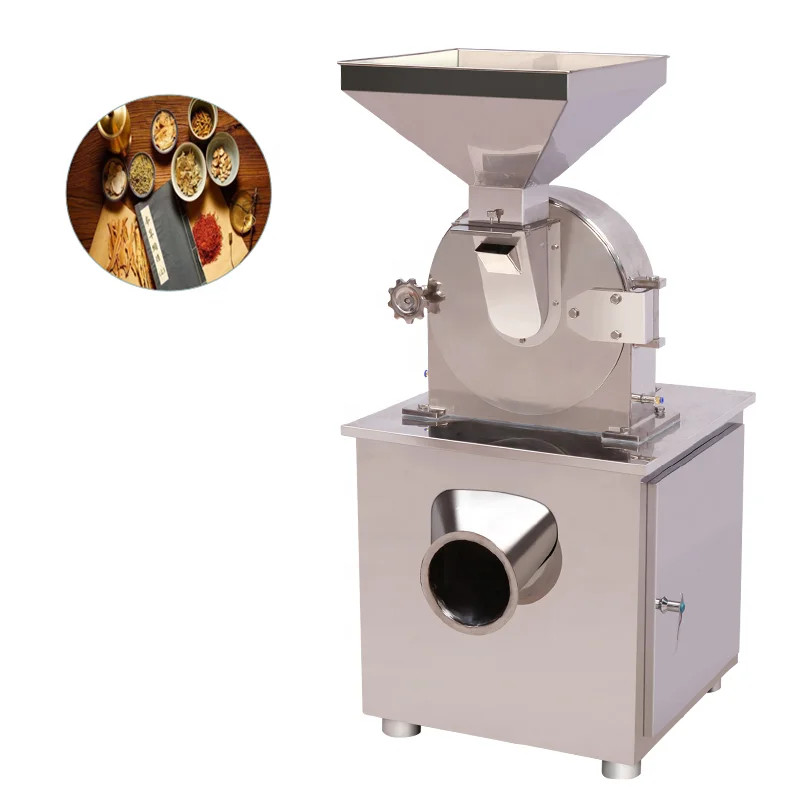
A coffee grinder is convenient for small amounts, but a grain mill is better for repeated use.
| Feature | Coffee grinder | Grain mill |
|---|---|---|
| Best batch size | Small | Small to large |
| Texture control | Limited | Usually better |
| Speed for large batches | Slow | Faster |
| Motor strain | Higher with hard grain | Designed for grain |
| Cleanup | Usually simple | Depends on model |
| Cost | Often lower if already owned | Higher upfront cost |
| Best use | Occasional small batches | Regular flour making |
Choose a coffee grinder when you need a small amount and accept a rustic texture. Choose a grain mill when you bake bread often, want consistent flour, or need to process hard grains regularly.
A food processor may handle some grains, but it also tends to produce uneven meal rather than fine flour. It is not a direct replacement for a grain mill.
Common Mistakes When Grinding Flour in a Coffee Grinder
Filling the chamber too full
An overloaded chamber can prevent the grain from moving. The blade may spin under the ingredients while the motor works harder.
Better approach: Use a shallow layer and grind in batches.
Running the motor nonstop
Continuous grinding creates heat and may shorten motor life.
Better approach: Pulse, pause, and inspect the flour often.
Expecting store-bought flour
A coffee grinder does not normally separate bran, germ, and endosperm. It also may not create a uniform powder.
Better approach: Sift the flour or choose a recipe that suits a rustic texture.
Grinding damp ingredients
Moisture can cause clumping and make cleanup difficult.
Better approach: Dry the ingredient fully before grinding.
Ignoring the manufacturer’s instructions
A grinder may appear powerful enough for grain but still be approved only for coffee.
Better approach: Check the manual before use. If the instructions prohibit the task, use a grain mill instead.
Using one grinder for allergy-sensitive foods
Tiny residues can remain in cracks and around the blade.
Better approach: Keep a separate grinder for gluten-free or allergen-controlled cooking.
Frequently Asked Questions
Can you grind wheat berries in a coffee grinder?
Yes, you can grind a small amount of wheat berries in some blade coffee grinders. The result may be coarse and uneven. Check the grinder manual first, use short pulses, and stop if the motor becomes hot or strained.
Can a coffee grinder make oat flour?
Yes. Oats are one of the easiest grains to grind in a coffee grinder. Rolled oats usually produce a soft flour after several short pulses. Sift the flour if your recipe needs a smooth texture.
Can you grind rice into rice flour in a coffee grinder?
Yes, dry rice can be ground into rice flour. White rice is often easier to process than brown rice. Grind small batches and expect some grainy particles unless you sift the flour.
Can you use a burr coffee grinder to grind flour?
It depends on the model. Many burr coffee grinders are made for coffee only, and grain may clog or damage the burrs. Read the manual before using one. A grain mill is the safer choice for frequent or large-batch grinding.
Does grinding grain ruin a coffee grinder?
It may not ruin every grinder, but hard grain can cause extra wear, clogging, or overheating. Using a grinder outside its approved purpose may also affect warranty coverage. The risk is greater with hard kernels, large batches, and long grinding times.
Is homemade flour healthier than store-bought flour?
Not automatically. Homemade flour may be fresher, but its nutrition depends on the grain and how it is stored. It may also spoil faster because whole-grain components remain in the flour. Use safe storage and do not treat homemade flour as safer for people with food allergies.
Final Answer
You can grind flour in a coffee grinder, especially when working with small amounts of oats, rice, quinoa, or other dry grains. A blade grinder is usually more practical than a burr coffee grinder, but the flour may be coarse and uneven.
Use short pulses, avoid overfilling the chamber, watch for heat, and clean the grinder well. If you need fine flour, large batches, or regular whole-grain baking, choose a purpose-built grain mill instead.