
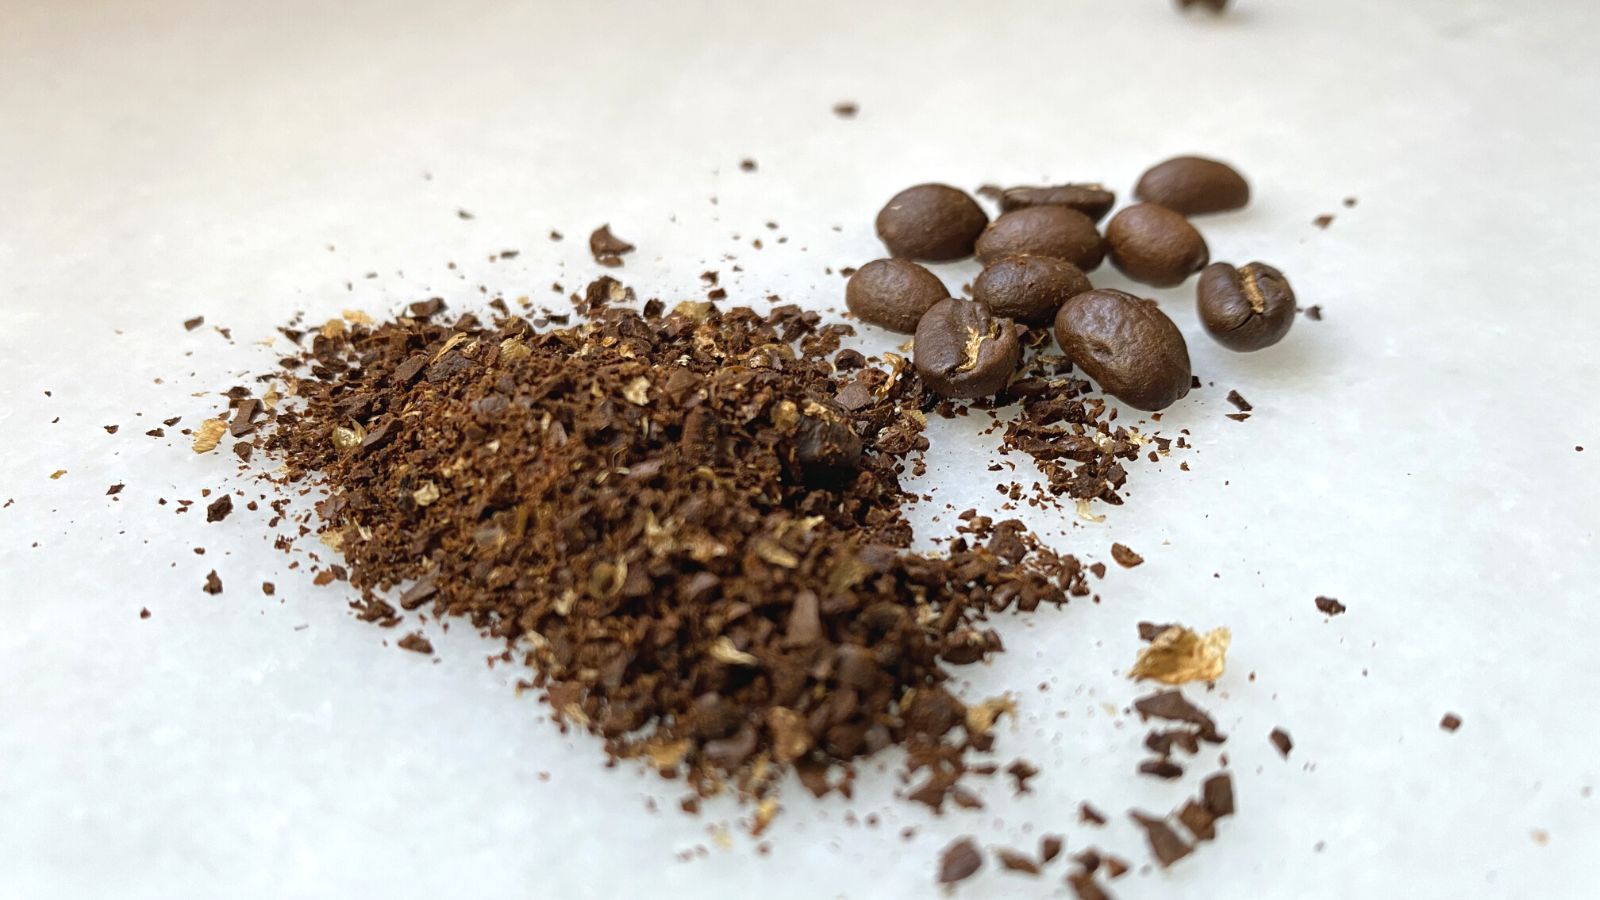
For most American coffee percolators, use a coarse to medium-coarse grind. The grounds should look like rough sand or sea salt. This size helps water pass through the coffee without carrying too many grounds into the cup.
Avoid fine espresso-style coffee. Fine grounds can clog the basket, create bitter coffee, and leave grit in your mug. If your percolator has a small basket or a paper filter, a medium-coarse grind may work better than a very coarse grind.

Why Grind Size Matters in a Percolator
Grind size controls how fast water extracts flavor from coffee. Small grounds have more exposed surface area, so they release flavor quickly. Large grounds extract more slowly.
A percolator sends hot water up a tube and over the grounds many times. This repeated contact can extract coffee faster than a drip brewer. That is why a coarse grind is usually safer.
A grind that is too fine may cause:
- Bitter or harsh coffee
- Cloudy liquid
- Mud or sediment in the cup
- A clogged basket
- Weak water flow through the coffee bed
A grind that is too coarse may cause:
- Thin coffee
- Sour or sharp flavors
- Pale color
- Little aroma
- A cup that tastes like hot water
The goal is a steady flow with enough contact time to draw out flavor, but not so much contact that the coffee becomes over-extracted.
The National Coffee Association notes that grind size should match the brewing method. Coarser grinds suit longer brewing methods, while fine grinds suit short methods such as espresso. A percolator sits closer to the longer-contact side of brewing, so coarse or medium-coarse coffee is a useful starting point.

The Best Grind Size for Different Percolators
The right grind can change slightly based on the type of percolator you use. The basket design, filter, heat source, and brewing time all matter.
| Percolator type | Best starting grind | Why |
|---|---|---|
| Electric percolator | Medium-coarse to coarse | Supports repeated brewing without much sediment |
| Stovetop percolator | Medium-coarse | Gives better extraction during close heat control |
| Camping percolator | Coarse | Helps reduce grit and clogging |
| Percolator with a paper filter | Medium-coarse | The filter can catch smaller particles |
| Percolator with a fine metal screen | Medium-coarse | A very coarse grind may taste weak |
| Large commercial percolator | Follow the manual | Basket size and brewing cycle vary |
When in doubt, start with medium-coarse coffee. It gives you room to adjust in either direction.
A coarse grind is not the same as a chunky French press grind in every case. Some very coarse coffee can leave the brew weak, especially in a short stovetop cycle. Look for particles that are clearly larger than table salt but not as large as cracked pepper.

How to Tell if Your Coffee Grind Is Correct
Freshly ground coffee should have pieces of fairly even size. The particles should not look like flour, and they should not contain many large bean chunks.
A good percolator grind often looks like:
- Rough sand
- Coarse sea salt
- Small grains with a few fine particles
– A texture slightly finer than typical French press coffee
You do not need laboratory tools to check the grind. Place a small amount of coffee on a white plate and inspect it under bright light.
Signs the grind is too fine
The grind may be too fine if:
- Dust collects in the basket
- Coffee drips slowly from the basket
- The finished brew tastes bitter
- Your cup contains heavy sediment
- The basket overflows or looks packed with wet coffee
Signs the grind is too coarse
The grind may be too coarse if:
- The coffee tastes weak after a normal brew cycle
- The drink looks unusually pale
- The flavor is sour or hollow
- The coffee smells good but lacks body
A few fine particles are normal. The problem is an excess of powder or a large spread between very fine dust and very large pieces.
How to Grind Coffee for a Percolator
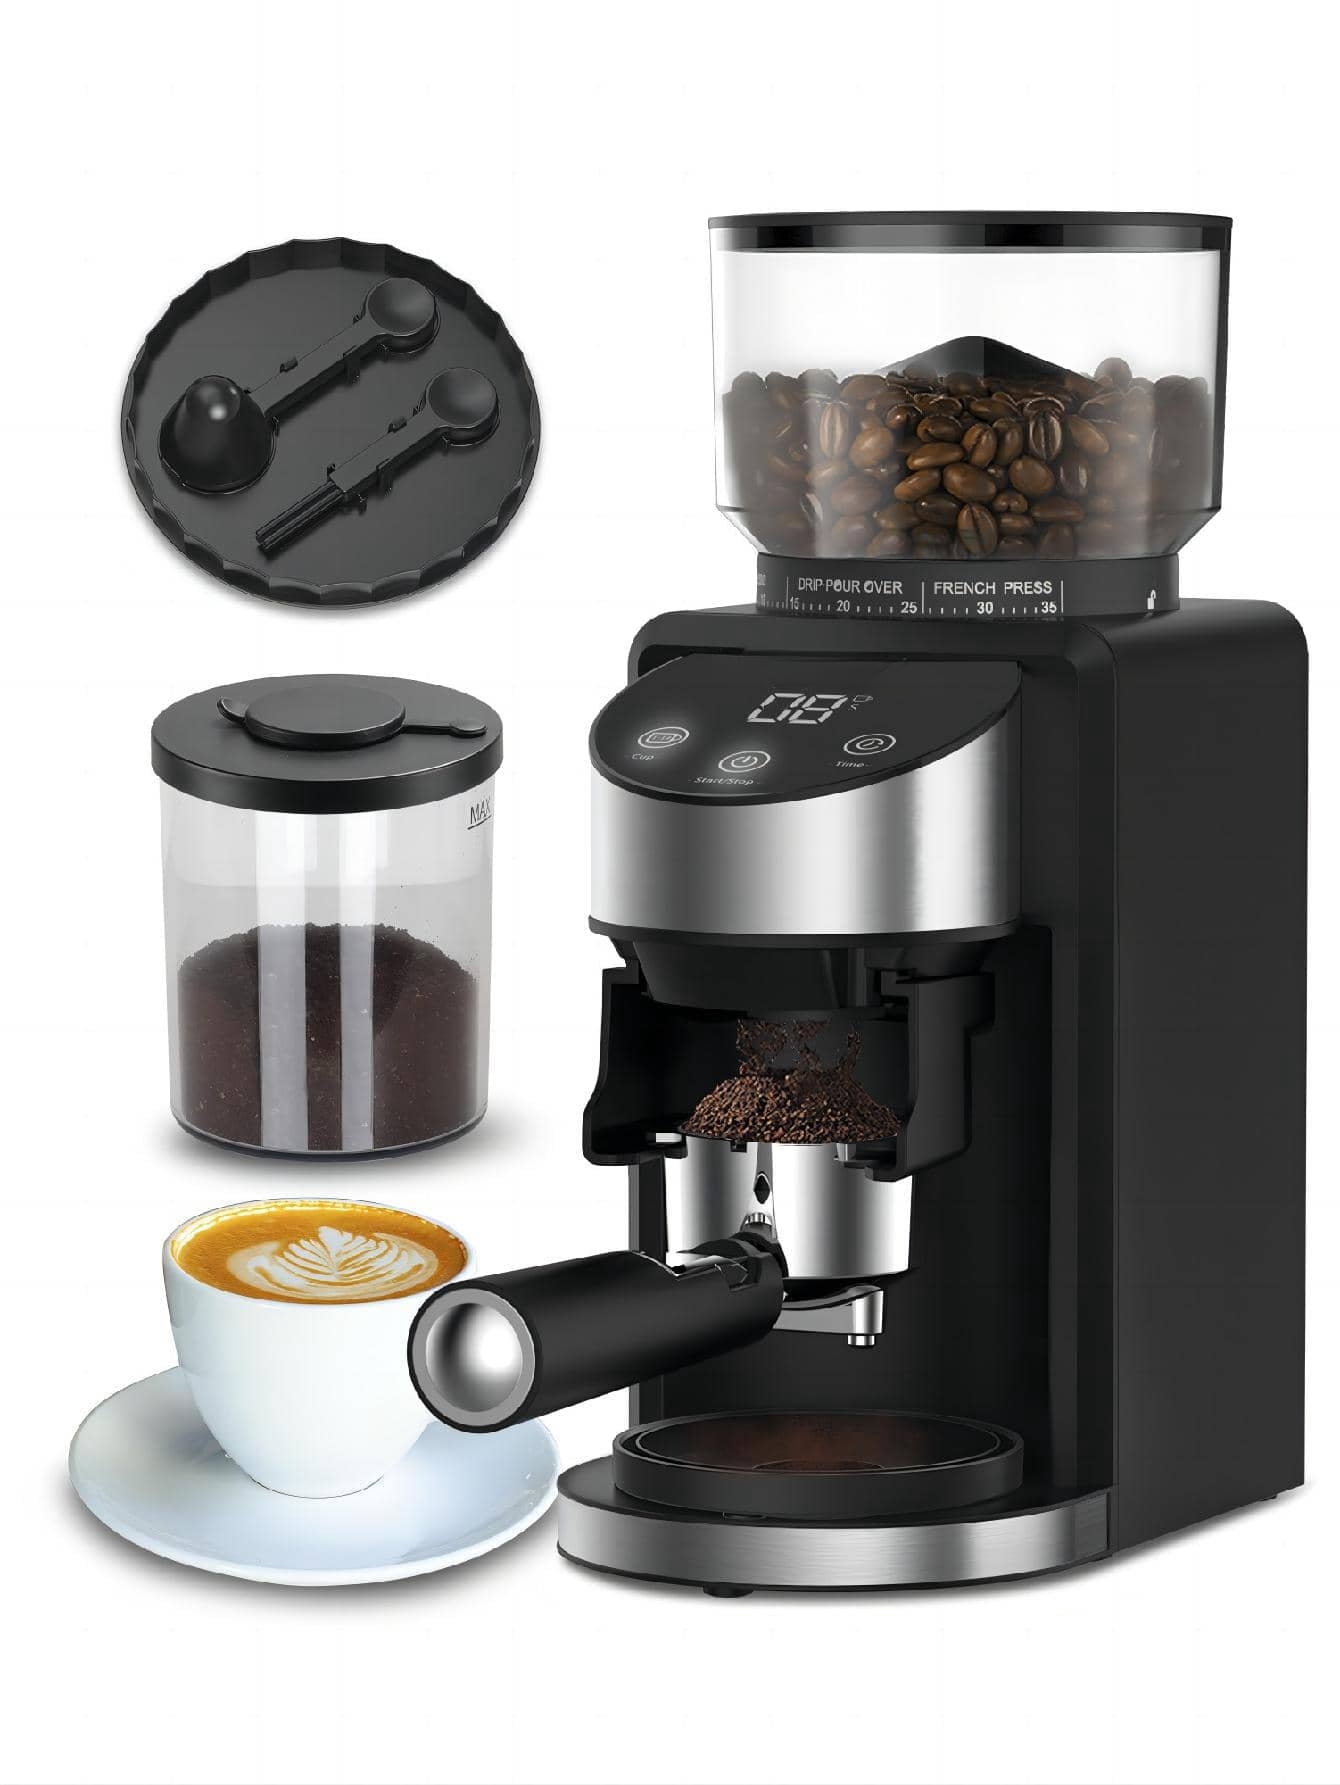
A burr grinder gives the most consistent result. It crushes the beans between two surfaces and usually produces fewer extreme particles than a blade grinder.
Use this simple process:
- Start with fresh whole beans.
- Set the grinder near its coarse or medium-coarse range.
- Grind only the amount you need.
- Check the texture before filling the basket.
- Adjust after tasting the finished coffee.
If you use a blade grinder, pulse it in short bursts. Do not run it continuously. Continuous grinding creates heat and often turns some beans into powder while leaving other pieces too large.
To make the particles more even, gently shake the ground coffee in a sealed container for a moment. Do not press or pack it into the basket. Water should move through the coffee freely.
Store unused beans in an airtight, opaque container at room temperature. Keep them away from heat, light, moisture, and strong odors. Do not store coffee in the refrigerator, where moisture and food odors can affect it.

How Much Coffee Should You Use in a Percolator?
A useful starting point is 1 level tablespoon of ground coffee for each 6-ounce cup of water. This is a starting ratio, not a fixed rule.
Many American coffee makers call a “cup” 5 or 6 fluid ounces, not a full 8-ounce measuring cup. Check the marks on your percolator before calculating the dose.
Starting coffee ratio
| Water in the percolator | Ground coffee |
|---|---|
| 24 fluid ounces | 4 level tablespoons |
| 36 fluid ounces | 6 level tablespoons |
| 48 fluid ounces | 8 level tablespoons |
| 60 fluid ounces | 10 level tablespoons |
For a stronger cup, add a small amount more coffee before making the grind finer. A finer grind can increase bitterness and sediment.
For a lighter cup, reduce the coffee slightly or shorten the brewing time. Changing both the dose and brew time at once makes it harder to learn what improved the taste.
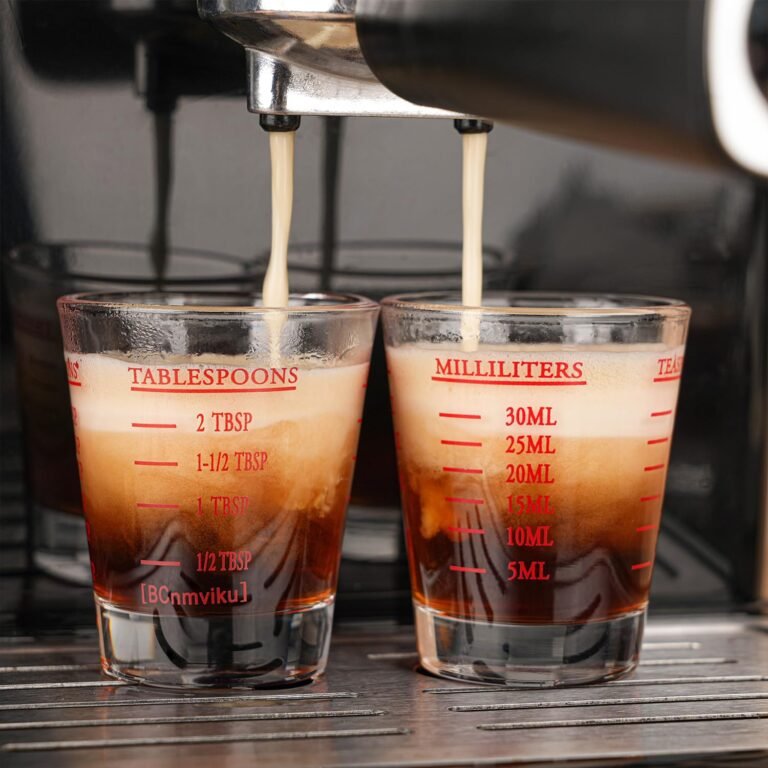
Use a kitchen scale if you want repeatable results. A practical starting point is about 55 to 65 grams of coffee per 1 liter of water, then adjust to taste. The exact amount depends on the coffee, roast, grind, and your preferred strength.

How to Brew Better Percolator Coffee
The grind matters, but brewing control matters just as much. Follow the percolator manual first because electric and stovetop models can use different heat settings and timing.
For an electric percolator
- Fill the reservoir with fresh, cold water.
- Insert the stem and basket.
- Add medium-coarse or coarse coffee.
- Place the lid on the unit.
- Start the brewing cycle.
- Let the percolator finish its normal cycle.
- Keep the coffee warm only as long as needed.
Many electric percolators use a light or switch to show when the coffee is ready. Avoid opening the lid again and again. Each opening releases heat and can disturb the brewing cycle.
For a stovetop percolator
- Add fresh water below the safety valve or fill line.
- Assemble the stem and basket.
- Add the ground coffee without packing it.
- Secure the lid.
- Heat the pot until the coffee begins to perk.
- Lower the heat to maintain a gentle cycle.
- Brew for the time stated in the manual.
- Remove the pot from heat and serve.
The coffee should rise in a steady pulse, not boil violently. Excessive heat can make the coffee taste burnt and may damage some cookware or handles.
A common starting point for a stovetop model is about 7 to 10 minutes after perking begins, but the correct time depends on the pot and the amount of coffee. Use the manufacturer’s instructions when available.

How to Adjust the Grind by Taste
Taste is the best final test. Grind charts provide a starting point, but different beans and percolators can produce different results.
| Taste or symptom | Likely cause | First adjustment |
|---|---|---|
| Bitter, dry, or burnt | Too fine, too hot, or brewed too long | Grind coarser or shorten the cycle |
| Sour and thin | Too coarse, too cool, or brewed too briefly | Grind slightly finer or extend the cycle |
| Weak but not sour | Too little coffee or too much water | Add coffee before making a large grind change |
| Strong but clean | Good extraction | Keep the grind and adjust only strength if needed |
| Gritty | Too many fine particles | Grind coarser or use a suitable paper filter |
| Muddy and harsh | Very fine grind or over-brewing | Use a coarser grind and lower the heat |
Change only one variable at a time. For example, keep the water amount and brew time the same while moving from coarse to medium-coarse. This gives you a clearer answer.
Dark-roast coffee can taste bitter more quickly because roasting creates a strong, intense flavor. If your dark roast tastes harsh, try a slightly coarser grind or a shorter brew. Light-roast coffee may need a little more extraction, but do not solve every weak cup by grinding very fine.

Common Percolator Coffee Mistakes
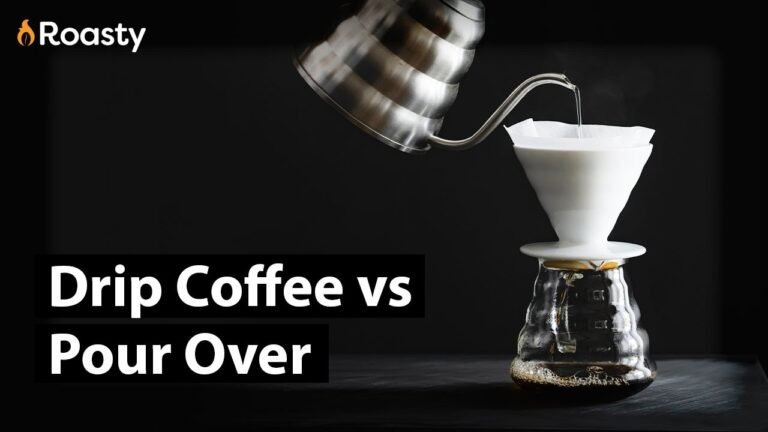
The most common mistake is using the same grind for every coffee maker. A grind that works in a drip machine may not work well in a percolator.
Avoid these errors:
Using espresso grind
Espresso grind is usually too fine for a percolator. It can slow water flow and add heavy sediment. It may also produce an over-extracted, bitter cup.
Packing the basket
Do not tamp or press the grounds. A packed coffee bed can restrict water movement. Level the coffee gently instead.
Filling the basket too high
Leave room for the grounds to expand. Follow the basket’s fill line if it has one.
Brewing on high heat
High heat can make the coffee boil too hard. Use the lowest heat that keeps the brew moving on a stovetop model.
Leaving coffee on heat
Percolated coffee can become sharper and more bitter if it sits on a hot plate for a long time. Transfer extra coffee to a thermal carafe when possible.
Ignoring the filter screen
A worn or damaged screen can allow more particles into the cup. Inspect the basket, stem, and lid after cleaning.
Using stale beans
Old coffee can taste flat even when the grind is correct. Grind fresh beans shortly before brewing for better aroma.
What to Do if Your Percolator Coffee Is Too Bitter
Bitter coffee usually means the brew received too much extraction, too much heat, or both. Start with the simplest change.
- Check whether the grind is too fine.
- Move one step coarser.
- Reduce the brewing time if your model allows it.
- Lower the heat on a stovetop percolator.
- Use a lighter roast if the coffee still tastes harsh.
- Confirm that the basket and tube are clean.
Do not immediately use less coffee. Less coffee can make the brew weak while leaving the same bitter extraction from the remaining grounds.
If the coffee tastes burnt rather than merely bitter, inspect the heat source and the time spent warming the finished brew. Percolator coffee should not need violent boiling.
What to Do if Your Percolator Coffee Is Too Weak
Weak coffee can come from too much water, too little coffee, too coarse a grind, or too short a brew.
Try these steps:
- Confirm the water level.
- Add a modest amount of coffee.
- Move from coarse to medium-coarse.
- Check that the stem is seated correctly.
- Make sure the coffee is perking steadily.
- Confirm that the basket is not overfilled or blocked.
Do not jump straight to a fine grind. A small increase in coffee often improves strength without creating bitterness or sediment.

Can You Use Pre-Ground Coffee in a Percolator?
Yes. Choose coffee labeled coarse grind or percolator grind when available. If the package only says “ground coffee,” inspect the texture. It should not look like powder.
Pre-ground coffee is convenient, but it may lose aroma faster than whole beans. Seal the bag well and use it while it still smells fresh. If the coffee tastes dull, the problem may be age rather than grind size.
Avoid coffee labeled for espresso unless you can obtain a coarser grind. Espresso grounds are not a good default for a percolator.
Can You Use a Paper Filter in a Percolator?
Some percolators accept paper filters, while others do not. Check the manual before adding one. A filter that does not fit can fold, block water flow, or affect the brewing cycle.
A paper filter may reduce sediment and allow you to use a slightly finer grind. It does not automatically make espresso grind suitable. The coffee still needs room for water to pass through.
Never cut or modify a filter near a heating element unless the manufacturer specifically allows it. Use a filter made for the correct basket size and design.
Does a Percolator Need Coarse or Medium-Coarse Coffee?
Most percolators work well with either option, but medium-coarse is the better first test for many home models. It offers more flavor than an extremely coarse grind while limiting the fines that can create bitterness and grit.
Choose coarse coffee when:
- Your cup contains sediment
- The coffee tastes bitter
- The basket drains slowly
- You use a camping pot
- Your percolator has a strong, repeated cycle
Choose medium-coarse coffee when:
- The brew tastes thin
- The coffee looks pale
- Your model has a fine metal screen
- You use a paper filter
- Your brewing cycle is short
The best answer depends on the specific pot. The correct grind is the one that produces a balanced cup with steady water flow.
Does Roast Level Change the Best Grind?
Yes, roast level can change how the coffee tastes, even when the grind stays the same.
Dark roast coffee is often more intense and can become harsh during long, hot brewing. A coarse grind and moderate heat may help keep it smoother.
Light roast coffee can taste sharp or weak if the brew does not extract enough flavor. A medium-coarse grind, a slightly longer cycle, or a modest increase in coffee may help.
These are starting points, not hard rules. Bean type, freshness, water quality, and brewing temperature also affect the result.
How Should You Clean a Percolator?
Clean the pot after each use. Remove the basket and stem, then wash away coffee oils and grounds. Pay close attention to the small opening at the bottom of the stem and the basket screen.
Coffee oils can become rancid and make fresh coffee taste stale or bitter. Rinse all parts well and let them dry before storage.
For mineral buildup, follow the manufacturer’s cleaning instructions. Some manuals allow a mild vinegar-and-water cleaning cycle, while others recommend a specific descaling product. Never mix vinegar with bleach or other cleaning chemicals.
Unplug an electric percolator before cleaning it. Do not immerse the electrical base unless the manual says it is designed for that use.
Frequently Asked Questions
What is the best grind size for a coffee percolator?
A coarse to medium-coarse grind is usually best. Start with medium-coarse coffee if you want a balanced cup, then move coarser if the coffee is bitter or gritty.
Is drip grind too fine for a percolator?
Standard drip grind may be too fine for some percolators. It can work in a model with a fine filter, but coarse or medium-coarse coffee is a safer starting point.
Can I use French press grind in a percolator?
Yes, but very coarse French press coffee may taste weak in a short percolator cycle. If that happens, use a slightly finer medium-coarse grind.
How many tablespoons of coffee go in a percolator?
Start with 1 level tablespoon per 6 fluid ounces of water. Adjust the amount to taste, and check your percolator manual because cup markings vary.
Why does my percolator coffee have grounds in it?
The grind may be too fine, the basket screen may be damaged, or the coffee may be overflowing from an overfilled basket. Use a coarser grind and inspect the filter parts.
Should I tamp coffee in a percolator basket?
No. Add the grounds and level them gently. Tamping can slow the water and cause uneven extraction.
Key Takeaways
- Use a coarse to medium-coarse grind for percolator coffee.
- Start with medium-coarse if you are unsure.
- Use about 1 level tablespoon per 6 fluid ounces of water as a starting ratio.
- Grind coarser if the coffee is bitter, gritty, or slow to flow.
- Grind slightly finer if the coffee is weak, pale, and sour.
- Do not tamp the grounds.
- Keep stovetop heat gentle after perking begins.
- Clean the basket and stem often.
- Follow your percolator’s manual when its instructions differ.
Conclusion
The best grind for percolator coffee is usually coarse to medium-coarse. Start with fresh coffee, use a level dose, and let the water move through the basket without pressure.
If the cup tastes bitter or contains grit, go coarser. If it tastes thin and sour, try a slightly finer grind or use a little more coffee. Make one change at a time, and your percolator will show you the right balance.
One Comment